ラベル クテ打ちの基本 Kute Basics の投稿を表示しています。 すべての投稿を表示

2023年4月15日土曜日

BBCC


BBCCは角組ほど角ばらず、断面は円に近い組み方です。ずっと前にBBCCを取り上げたのですが、2種類しか紹介していませんでした。今回は、色の組み合わせを変えたり、2色ループを使ったりして、楽しいものがたくさんできました。模様が組んでいる上下に出たり、左右に出たりするのも面白いです。


上から順に配色を示します。

1. ピンクと茶

〇●〇●〇● ●〇●〇●〇 または     〇〇〇〇〇〇 〇〇〇〇〇〇

●〇●〇●〇 〇●〇●〇●       ●●●●●● ●●●●●●

どちらも同じです。これは前に紹介したものです。


2. 白地に緑と赤の半分ずつの矢羽根

〇●〇●〇● 〇〇〇〇●〇

〇●〇●〇● 〇〇〇〇●〇

これは素敵です。


3. グレー地にピンクと白の矢羽根が交互に

●〇●〇〇〇 〇〇〇●〇●

●〇●〇〇〇 〇〇〇●〇●


4. 茶色地にピンクの濃淡で矢羽根

〇●〇●〇● 〇〇〇〇〇〇


5. 紺地に朱と黄が千鳥のように飛びます

●●●●●● ●●●●●●


6. 藤色と紫の縦じま、途中で色の順序を変えてアクセントに

〇●〇●〇● ●〇●〇●〇  縦じま


〇●〇●〇● 〇●〇●〇●  アクセント


略号A, B, C, D については、「クテ打ち手操作基本の4操作」をご覧ください。


BBCC is not as angular as Kakugumi, and its cross section is close to a circle. I covered BBCC a long time ago, but only introduced two types. This time, I made a lot of fun things with different color combinations and using bi-color loops. It is also interesting that the pattern sometimes appears above and below the cord, and other times appears on the left and right sides


Below I show you color patterns from the top to the bottom.


1.Pink and brown

〇●〇●〇● ●〇●〇●〇  or   〇〇〇〇〇〇 〇〇〇〇〇〇

●〇●〇●〇 〇●〇●〇●    ●●●●●● ●●●●●●

Both are the same.  This is what I covered before.


2.Chevron half green and half red on white background

〇●〇●〇● 〇〇〇〇●〇

〇●〇●〇● 〇〇〇〇●〇

This is very nice!


3. Pink and white chevrons alternate on a grey background

●〇●〇〇〇 〇〇〇●〇●

●〇●〇〇〇 〇〇〇●〇●


4. Three shades of pink chevron on a brown background

〇●〇●〇● 〇〇〇〇〇〇


5. Vermillion and yellow Vs on a dark blue background

●●●●●● ●●●●●●


6. Lavender and purple strips with an accent in the middle

〇●〇●〇● ●〇●〇●〇  Stripes


〇●〇●〇● 〇●〇●〇●  Accent


For the abbreviations A, B, C, D, please refer to "Kuteuchi Basic 4 Movements" .


2017年12月27日水曜日

高麗組または重打 Koraigumi or Shigeuchi AB or DC


ワークショップでは、仕上がりの綺麗さに目がくらんでいましたが、組んだ高麗組をよく見ると、どこかで見たような。そう、クテ打ちの基本動作で取り上げるのを忘れているABとよく似ています。という訳で、今日は、基本動作ABとDCをします。

重打(しげうち)と呼ばれる組み方です。外回し(AB)でも中通し(CD)でもできます。角組の厚さを半分にして横に平に広げたような形です。ループ数が少ない場合は平らになりますが、ループ数が10本を越えると、紐は平らではなく、ABの場合は右手側に、CDの場合は左手側に、内側に丸くなりますが、これを指でしごいて平にします。

写真の3本の紐の初期配置は以下のとおりです。

黄赤緑 AB & DC 4-4        ①①②②  ③③③③

紫系 DC 7-6     ①① ②②③③④  ④④④④④④ 
        ④④④④④④④  ④④④④④④
  
ピンク系 AB 7-6 ①①②②③③④  ④④④④④④  

一番上の黄赤緑の紐は、最初はABで、途中からDCに変えて組んでいます。V字の向きが上下逆になっているのが分かりますか。


At the Workshop, I was so impressed by the beautiful finish of the work that I did not notice that I had seen this braiding before.  It looks very similar to Shigeuchi!  Today we learn Shigeuchi, AB and DC.

We can do this either AB or CD.  The braid looks to have a half the thickness and a double width of Kakugumi.  When you work with a small number of loops, the braid is flat, but with over 10 loops, the braid is inwardly curled on the right hand side for AB, and on the left hand side for CD.  You need to knead the braid with fingers to make it flat.

The initial color settings for the 3 braids above are as follows:

Yellow-Red-Green AB & DC 4-4 ①①②②  ③③③③

Purples DC 7-6 ①① ②②③③④  ④④④④④④ 
           ④④④④④④④  ④④④④④④

Pinks AB 7-6     ①①②②③③④    ④④④④④④

I started with AB for the top braid, and changed in the middle to DC.  You will notice the V-fell up-side-down.

2017年11月22日水曜日

源氏打 BBCCとにせ源氏打 BBDD

くて打ち4つの基本動作A、B、C、Dの組み合わせの最後は、BBDDです。しっかりとして、断面がほぼ円形の紐です。
「クテ打組紐技法入門」シリーズから1例です。

6-6 ①②①②①②  ②①②①②①
         ②①②①②①  ①②①②①②


これは私のお気に入りで、カメラのストラップやらいろいろに使っています。写真ではうずまきの中からBBCCで始めて、半分位からBBDDに変えました。お見せしにくいのですが、裏と表で、同じ模様がポジとネガになっています。

The last combination of Kuteuchi Basic Movements A, B, C, D is BBDD.  This is the example from “Introduction to Kute-uchi Kumihimo Technique”.

6-6 ①②①②①②  ②①②①②①
         ②①②①②①  ①②①②①②


This is one of my favorites.  I made a camera strap and others with BBCC.  In the photo, from the center I started with BBCC and changed in the middle to BBDD.  Though it is hard to see, the same pattern appears on the back and in the front of the braid, but in the opposite colors forming negative-positive contrast.


2017年11月7日火曜日

平組 AADC

幅の広い紐を組みます。AADCです。AADDと比較するために、ほぼ同じ色の配置でやってみます。


4回目にひねるか、ひねらないか、でこんなに違った結果になるのですね。AADDと比べると、幅が広い分、厚みはそれほどありません。配色は次の通りです。8-7とあるのは、ループの数が左手8本、右手7本の意味です。

赤系4色 8-7 ④④①①①①②②  ④④③③③②②
紫系7色 8-7 ⑦①①②②③③③  ⑦⑥⑥⑤⑤④④
赤緑黄 8-7  ②①②①②①②①  ③③③③③③③

グレーピンク白  山道 8-7  ②①②①②①②③  ①③①③①③①
                                                   ①①①①①①①①  ①①①①①①①

上3本はすべて単色ループですが、4本目の白グレーピンクは、2色ループと単色ループの両方を使っています。 実は全く違ったものを想定していたのですが、結果はこうなりました。嬉しい誤算です。2色ループは、「閉」で上下の色が変わるので、私の頭で考えた通りには行かない点が、面白くもあり、憎らしいところです。「山道」という名前も素敵ですね。

We try a wide braid AADC today.  To compare the difference from AADD, I used almost the same color threads.


It is amazing.  We get a completely different pattern by changing the 4th movement from “D: cross” to “C: open”.  The finished braid is wider than AADD and therefore thinner.  The color arrangements are as follows: 

4 reddish colors 8-7   ④④①①①①②②  ④④③③③②②

7 purplish colors 8-7     ⑦①①②②③③③  ⑦⑥⑥⑤⑤④④

Red,Yellow,Green 8-7     ②①②①②①②①  ③③③③③③③

Grey,Pink,White, Mountain Path 8-7 ②①②①②①②③  ①③①③①③①
                                                               ①①①①①①①①  ①①①①①①①

The top 3 braids are made with single-color loops, and the forth with single- and bi-color loops.  In fact, I planed to make a completely different pattern, but got this.  It was a nice surprise!  For me, bi-color loops are difficult to foresee the results because they change colors each time loops are twisted, which is interesting and troublesome.  The pattern name, “Mountain Path” is beautiful.

8-7 means 8 loops in the left hand, 7 loops in the right hand. 

2017年10月24日火曜日

源氏打ち Genjiuchi BBCC

「クテ打組紐技法入門」シリーズから源氏打ちBBCCを取り上げます。初期の配色設定は以下の通りです。
(ア)  ①②①②①② ②①②①②①
             左手       右手

左右対称です。これを非対称にすると、

(イ)   ①②①②①② ①②①②①②

がらりと変わります。紐は丸みを帯びていますが、ループ数が偶数なので、右手側面がやや広く、左手側面はそれよりは狭くなっています。巾着の紐などにちょうどいいですね。

写真の一番上の茶と黄色の紐は、途中で(ア)から(イ)に変え、また(ア)に戻りました。ループの配置を変える時は、1度に変えるのではなく、組みながら順に変えていった方が、仕上がりに無理がなく滑らかになります。


3色でやってみました。
(ウ)   ①①①①①① ②③②③②③  

 
(エ)   ①①①①①① ③②③②③②


写真2番目の緑、ピンク、グレーの紐は、最初は(ウ)で②のグレーが右側面に来ました。(エ)にすると、③のピンクが右側面に来ました。


次は4色です。
(オ) ①②①②①② ③④③④③④


(カ) ①②①②①② ④③④③④③


左右の側面には左右同じ色(単色)の矢羽根ができ、上下の面には左右異なる色の矢羽根ができます。これを全て単色の矢羽根にできないかと考えたのが一番下です。

(キ) ①②①②①② ③①③①③①
    ④②④②④② ③④③④③④


① と④の2色ループを6本、単色ループ②と③をそれぞれ3本ずつ使っています。


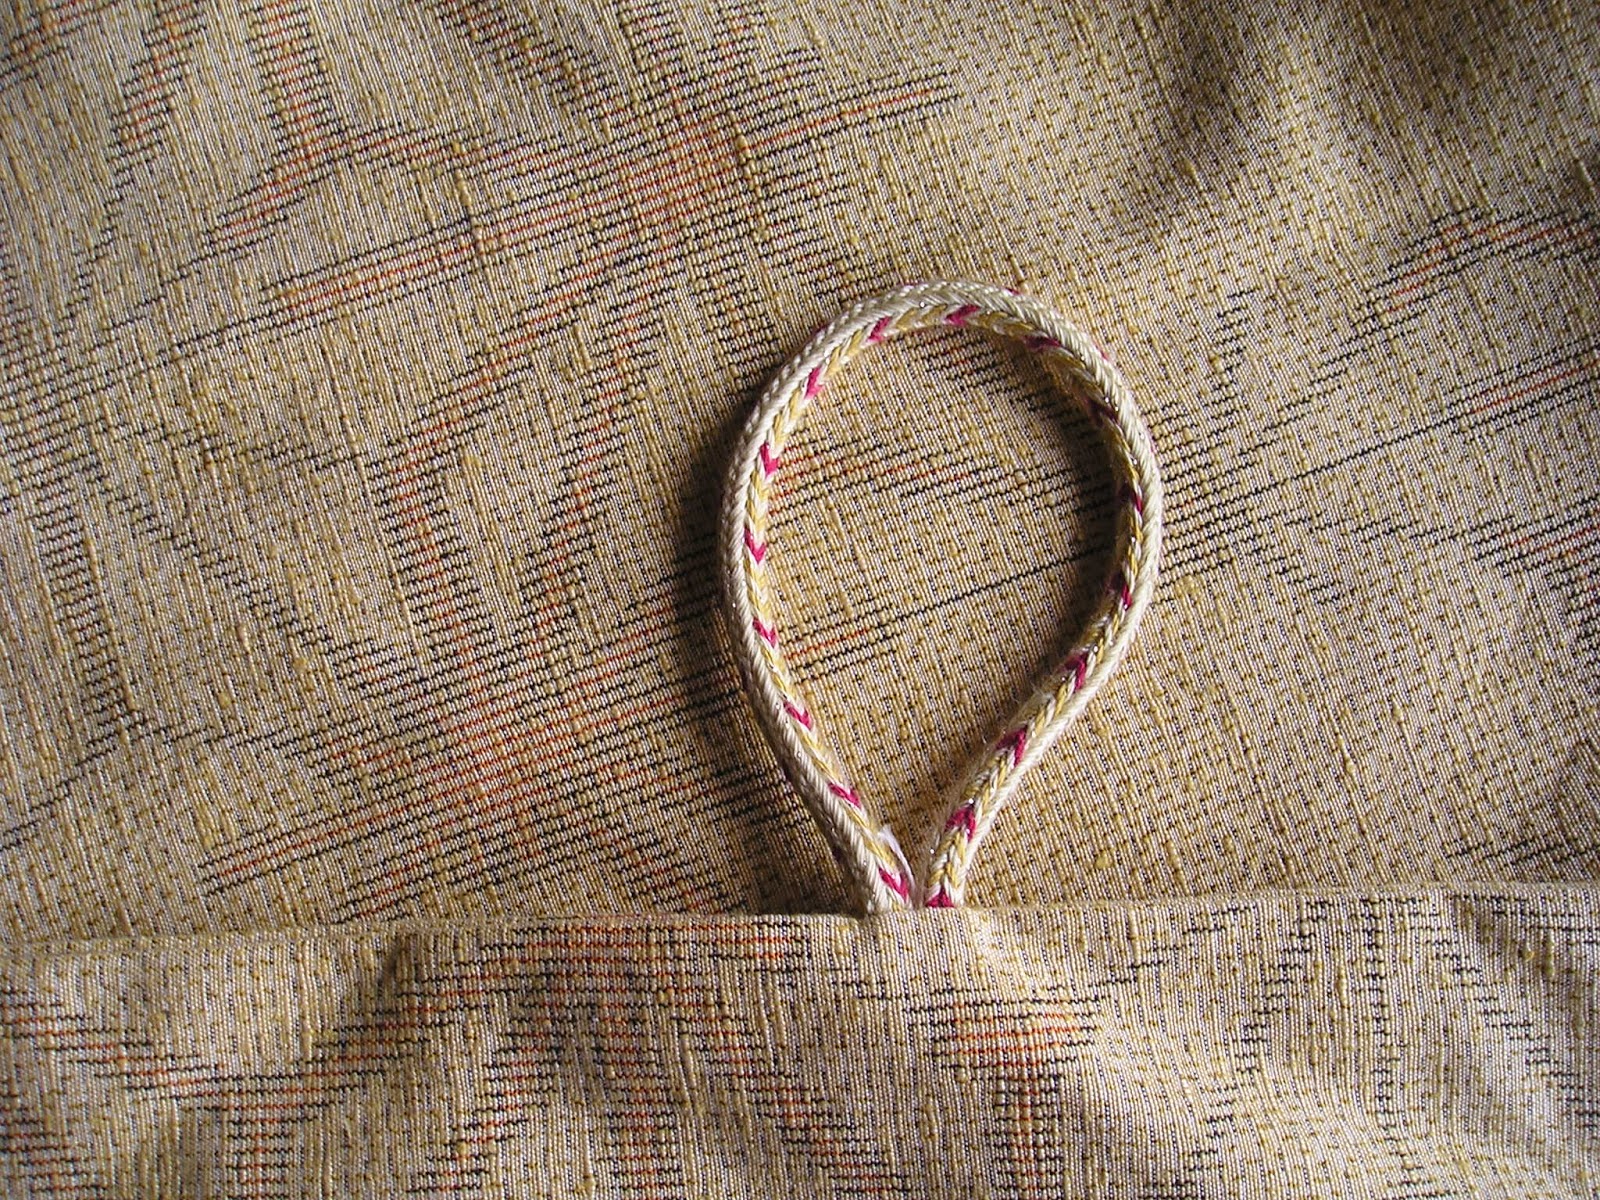
応用作品です。紬の着物地でスカーフを作りました。スカーフが滑ってこないように、源氏打ちの紐を肩の辺りに縫い付けました。
 (ク) ①①①②①①  ②①①①③①

いつもはコットンキングを使っていますが、この時は幡垂飾を組んだ残りのハマナカのアプリコを使いました。ベージュは金ラメ入りです。

We try Genjiuchi BBCC from the book “Introduction to Kute-uchi Kumihimo Technique”.  The initial color arrangements are as follows.

A)  ①②①②①② ②①②①②①
    Left       Right

Bilaterally symmetric.  We can change it slightly like this.
   
B)   ①②①②①② ①②①②①②

The pattern changes dramatically.  The braid is round, but since the number of the loops is even, right hand side is a little wider than the left hand side.  The braid is ideal for drawstring purses.

To make the top brown and yellow braid, first I did A) then B) and back to A) again.  When you change loop positions, I recommend that you change loop positions one by one as you braid, rather than you change all the loops at once.  That way, the finished braid looks better.


The second one in green, pink and grey started like this.
C)      ①①①①①① ②③②③②③   
D)      ①①①①①① ③②③②③②

The grey② came to the right hand side when I started C), and the pink③ came to the right hand side when I changed to D).

Then four colors.
E)    ①②①②①② ③④③④③④
F) ①②①②①② ④③④③④③

On both sides we have two single-color chevrons alternately, and on top and bottom we have chevrons with different colors on right and left.  I wanted to have 4 single-color chevrons and came up with the following:

G) ①②①②①② ③①③①③①
  ④②④②④② ③④③④③④

I used 6 bi-color (① and ④) loops, and 3 single-color loops in ② and ③ each.


Here is a scarf I made with kimono material.  I attached a BBCC braid at around the shoulder so that the scarf does not slip down.

H) ①①①②①①  ②①①①③①

Though I usually use Cotton King, this time I used Aprico from Hamanaka that I bought to make Bansuishoku in April.

2017年10月9日月曜日

二連角組その2 Double Kakugumi AADD Part 2

今日はまず、私のネタ本を紹介します。木下雅子著クテ打組紐技法研究会編纂発行の「クテ打組紐技法入門」およびその続編計3冊です。おそらく大きな図書館にあると思いますので、探してみて下さい。CDも付いています。表紙のカラー写真がとてもきれいです。分かりやすい文章と図解で丁寧に説明してあります。
さて、その中から二連角組を組んでみました。


緑と薄い黄色の単色ループ14本を使った2色組です

①①②②②②①    ①①②②②②①
         左手     右手  
 
これを変形したのがその下の2本です。
赤系   ④④①①①①② ④④③③③③②
               左手     右手 

紫系      ⑦①①②②③③  ⑦⑥⑥⑤⑤④④
                                     左手     右手


暈繝です。このまま帯締めにもできそうですね。ポシェットの紐などにも使えます。


次に、「クテ打組紐技法」からもう2つです。一番上は、緑とベージュの単色ループ14本を使った2色組です。緑が縁取りになっています。     
      ②①②①②①②  ①②①②①②①
                                    左手     右手

続いては、2色ループを使いますので、少し複雑です。矢羽が2列並びます。    
                    
①②①②①②①  ①①①①①①①
                     ②①②①②①②     ②②②②②②② 
         左手     右手

この組方の裏を見て3番目のパターンを考えました。2色ループを2種類14本使います。配色を変えていろいろ楽しめます。写真では、①緑、②肌色、③ベージュ、④茶を使いました。

                       ①②①②①②①  ②①②①②①②
                       ③④③④③④③  ④③④③④③④
                                        左手       右手


以上は、あくまで左手から操作を始めることを前提にしています。どうしても右から始めたい人は、配色図の鏡像を使ってください。
配色図は、色別に①②③のように数字で表しています。最初はカラーで●●●のように表記していたのですが、色数が増えると判別しにくくなるのと、白黒の方が自由に配色を考えやすいと思って、今のようにしました。


Today I would like to introduce my material books.  It is “Introduction to Kute-uchi Kumihimo Technique” written by Masako Kinoshita and published by Kute-uchi Kumihimo Technique Research Group.  It is a three-volume series with beautiful color covers and a CD.  Perhaps you can find it in major libraries in every prefecture in Japan.  It is in Japanese.  The books explain in plain Japanese and clear graphics.


From the books, I tried Double Kakugumi, which uses 14 single-color loops in two colors (green and yellow).  
      ①①②②②②①     ①①②②②②①
         Left       Right  

 
I modified this and made two more braids.

Reddish one ④④①①①①②  ④④③③③③②
       Left        Right 


Purplish one ⑦①①②②③③  ⑦⑥⑥⑤⑤④④
       Left        Right  


These are Ungen.  How about making a string for a pochette?


Two more braids from the books.  The top one is made with 14 single-color loops in green and beige.  The green color edges the braid.
     ①②①②①②①  ②①②①②①②
        Left       Right 

  
The second one is made with 14 bi-color loops, which is more complicated. It makes two rows of chevrons. 

     ①②①②①②①  ①①①①①①①
     ②①②①②①②     ②②②②②②② 
                Left        Right  

When I saw the back side of the second one, I got an idea for the third one.  It is made with 14 bi-color loops in four colors.  You can enjoy various color combinations.  The one in the photo is made with ①green, ②flesh color, ③beige, and ④brown.

   ①②①②①②①   ②①②①②①②
   ③④③④③④③   ④③④③④③④
    Left           Right  


All the instructions are based on the assumption that you start with your left hand.  If you want to start with the right hand, please use the mirror image of the charts. I use ①②③ for different colors.  I initially used color charts like ●●●, but I have changed it because colors get confusing when I have more than 3 colors.  Besides, black-and-white charts, I thought, will allow you to make your own color combinations more freely.


2017年9月6日水曜日

二連角組 Double Kakugumi or AADD


外回し開、外回し開、中通し閉、中通し閉 (すなわちAADD)を繰り返すと、角組を横に2つ並べたような厚みのある紐ができます。二連角組、あるいは御岳組と呼ばれているそうです。私の好きな組み方です。厚みのあるベルトにしたりします。

模様の出方が面白いので、いろいろと試したくなる組み方でもあります。写真はすべて単色ループの組み合わせですが、2色ループはもっと楽しいです。
 
上の2本は、ほぼ右手と左手を変えただけです。私はいつも左手のループから操作すると決めているので、初期設定をこのように変えて、違うパターンを出していますが、同じ初期設定でも右手から始めると、この2種類のパターンができます。多色ループで暈繝(グラデーション)にしたい時は、初期設定の順番が大事です。下の2本は14本で組んでいます。番号で表すと下のようになります。


②●③●④●⑤  ●①●●●●●

ところで、「暈繝」という言葉も、「正倉院の組紐」という本で初めて知りました。なんと天平の香りのする言葉ではありませんか。

念のため、ビデオもご参照ください。


訂正します。

写真中の配色図が誤っているとのご指摘を受けました。
失礼いたしました。正しい配色図をお知らせします。
●●●●●●●  ●●●●●●●  あるいは、
②⑥③⑥④⑥⑤  ⑥①⑥⑥⑥⑥⑥


When you repeat:

Out & open, Out & open, In & cross, and In & cross,
in other words AADD,


you can get a thick braid like two-connected-Kakugumi.  It is called "Niren Kakugumi (double-Kakugumi) or Ontake-gumi.  It is one of my favorites and I make belts with this braiding technique.  I like how each color appears and makes patterns.  All the braids in the photo are braided with single-color loops.  If you have bi-color loops, you can enjoy even more.


The top two braids are done with almost the same initial color arrangement only in opposite hands.  Because I make it a rule to always start with left hand loops, the initial color arrangements are different, but if you start with right hand and left hand with the same color arrangement, you can get two different patterns.  When you want to make a Ungen (gradation) braid with many different colors, you have to be careful about the color order.  Below I show a case of 14 loops.


②●③●④●⑤  ●①●●●●●

I learned the word “Ungen” for the first time when I read the book called “Kumihimo in Shosoin”.  What a graceful word!  That brings me the 8th century atmosphere.  Please watch the video to make sure you know how to do AADD. 


Correction:
One of the readers contacted me saying that the color arrangements are not correct.  It was my mistake.  Hire is the correct one.
●●●●●●●  ●●●●●●●  or
②⑥③⑥④⑥⑤  ⑥①⑥⑥⑥⑥⑥

2017年8月22日火曜日

足糸 Foot Thread

幅の広い紐を組むためにクテの数を増やしていくと、クテの並ぶ順番が入れ替わったりして、どれが次に組むクテなのかわからなくなってしまいます。糸の色が違うと問題はないのですが、同色の糸が並ぶと混乱してしまいます。この問題を解決してくれるのが、クテと組糸の間に付ける「足糸」です。


例えば法隆寺の幡垂飾を組んだときは、赤糸が4本並んでいました。そこで、赤糸にはブルーの濃淡3色と緑1色の足糸をつけました。理想的にはブルーの濃淡4色でしたかったのですが、あるものを利用するので、贅沢は言えません。緑そして濃いブルーから順番に組めば正しい順になるようにしました。

足糸の利点は、このように色を変えてクテの順番を間違えないようにすることの他にあと2つはあります。2つ目は、糸のよじれを足糸が吸収してくれることです。長い紐の場合、同じ方向に糸を回転させる作業が続くと、糸にギシギシとヨリがかかってしまいます。そのヨリを足糸が吸収してくれるので、組む糸はゆったりと伸びやかな状態を維持できます。足糸にする糸は、ヨリを吸収しやすいように、刺繍糸のように細い糸をよらずにまとめたものが適当です。

足糸のつけ方をビデオでお見せします。足糸を「ひばり結び」という方法で糸につないでいます。玉結び1つでつながっているなんて、不思議です。


足糸の3つ目の利点は、糸の長さ調整が簡単な点です。組んでいる間に、糸の長さに差が出てくることがあります。糸の種類が異なる場合(特に金糸や銀糸)や、組み方によっては、左右に大きく移動する糸と、あまり移動しない糸がある場合などです。そんな時、ひばり結びでつないであると、長すぎる糸を引っ張って新しい玉結びを作るだけなので、結び目を解く必要もなく簡単に長さを調節できます。

何にでもデメリットもあります。足糸の場合は、当然のことながら、扱う糸の長さが長くなってしまうことです。ですから、足糸の長さは、10cm位が適当でしょう。

The more you increase the number of Kute to braid a wider braid, the more difficult it becomes to handle them.  It is even harder when you have the same color threads next to each other.  To solve this problem, we attach “foot thread” between Kute and thread. 


For example, when I made Horyuji Bansuishoku, I had 4 red threads in a row.  So I attached 3 foot threads of different tones of blue and a green.  Ideally it should be 4 different tones of the same color, but I only had 3 tones of blue and I added a green.

Other than differentiating the same color threads, foot thread has at least two more merits.  The second merit is that foot thread absorbs the twists of threads.  When you braid a long braid, twisting threads to the same direction, the threads become strongly tight.  The foot thread absorbs the twist and the threads can be kept nice and relaxed.  Foot thread should be made, therefore, with a bunch of fine threads like embroidery floss.

The video shows how to attach foot thread using what is called “Lark’s Knot” in Japanese.  It is amazing that a single knot can keep a long thread and foot thread together so firmly.

The third merit is the easy length adjustment.  While you braid, you sometimes notice that some threads are longer than others.  It happens when you have different kinds of threads (especially metallic threads) or when some threads move longer distance than others.  To make a longer thread shorter, you only have to pull the thread and make another knot.  In this way, you can adjust the length of threads without unknoting anything.

Like anything else, foot thread has a demerit.  It naturally makes the threads longer, making it harder to braid.  Therefore, the length of foot thread should be around 10cm.

2017年7月6日木曜日

クテ打ち手操作基本の4操作 Kuteuchi Basic 4 Movements


クテができましたら、早速組み始めましょう。使用する糸は、私は、生川商店のコットンキングという綿糸を愛用しています。毛糸でも絹糸でも、いいのですが、組み目がよく見えるものが適しています。ネップヤーンのような太さが不均一な糸は適しません。

糸の長さは、最初は80cm位が適当でしょう。両端をクテの輪に通し結びつけます。これが4本できたら、次からは、できた4本の輪の中に糸を通しながら残りの4つのクテに糸を結びます。これで4本の糸の鎖ができました。鎖部分に別糸を、両方の輪にかかるように渡して輪を作り、これをクランプなどに引っ掛けます。


これで準備ができました。操作は、ビデオで説明します。


ビデオでは見やすいように、机の上で操作をしていますが、これでは動きにくいので、実際には、動きやすい場所で行ってください。

4基本動作:

A: 外回し開
B:  外回し閉
C: 中通し開
D: 中通し閉


With the Kute we have made, we start braiding.  The thread I use is cotton, but wool and silk are also good.  Make sure you use straight threads so that you can see the braiding clearly.  Nep yarns are not suitable.

Let’s start with eight 80cm long threads.  Tie the both ends of a thread to the loops of a Kute.  When you have made 4, then the next four loops have to go through the first 4 loops.  With another thread, make a loop through the chain we have just made with 4 and 4 loops.  This last loop is to fix to a cramp.

Now we are ready to start braiding.


--- video ---


Though I operate over a desk in the video to show you clearly, it is not comfortable to work.  So when you do it, work in a comfortable space.

Basic Four Movements:

    A: Out and Open
    B: Out and Cross
    C: In and Open
    D: In and Cross

2017年6月17日土曜日

クテの作り方  How to make Kute


太さ3mm程度の紐を用意します。写真の上は、白い木綿の撚り紐、下は紺のポリエステルの組紐です。素材は何でも良いのですが、柔らかい紐よりは、硬めのしっかりした紐が適しています。
クテの長さは約25cm、両端の輪になっている部分は約6cmですから、クテ1本につき、約31cmの紐が必要です。まずは、8本作りましょう。必要になれば今後増やして行きます。
両端の輪を作ります。紐の端6cmを折り曲げ、針に糸を通して紐に1針刺し、あとは何回もぐるぐると、短い紐の端が見えないくらいにしっかり巻きます。太い糸で数回巻くよりは、細い糸で何回も巻く方が、しっかりと綺麗に仕上がります。
輪を両端に作ってできあがりです。
We need a 3mm thick string.  The top white one is a twisted cotton string and the bottom is a dark blue braided string.  The material can be anything, but rather than a soft string, a thick and sturdy one is more suitable.
Kute is 25cm long and the loops at both ends are 6cm long, thus we need a 31cm string per Kute.  To start with, we make 8 Kute.  We can always make more whenever we make wider braids.
Now we make loops at both ends.  Fold the string at 6cm from the end.  Make a stich through the strings and coil around the strings with the thread many times so that the end of the short string does not show.  To make strong and nice coils, I recommend that you coil many times with a fine thread rather than a few times with a thick thread.
Make another loop at the other end.  Now we have a nice Kute.